WORKPRO 6″ Mini Bar Clamps for Woodworking, One-Handed Clamp/Spreader, Light-Duty Screw-Change F Clamp with 50lbs Load Limit, 2PC
August 14, 2024
DIY Garden Ideas: Transform Your Outdoor Space
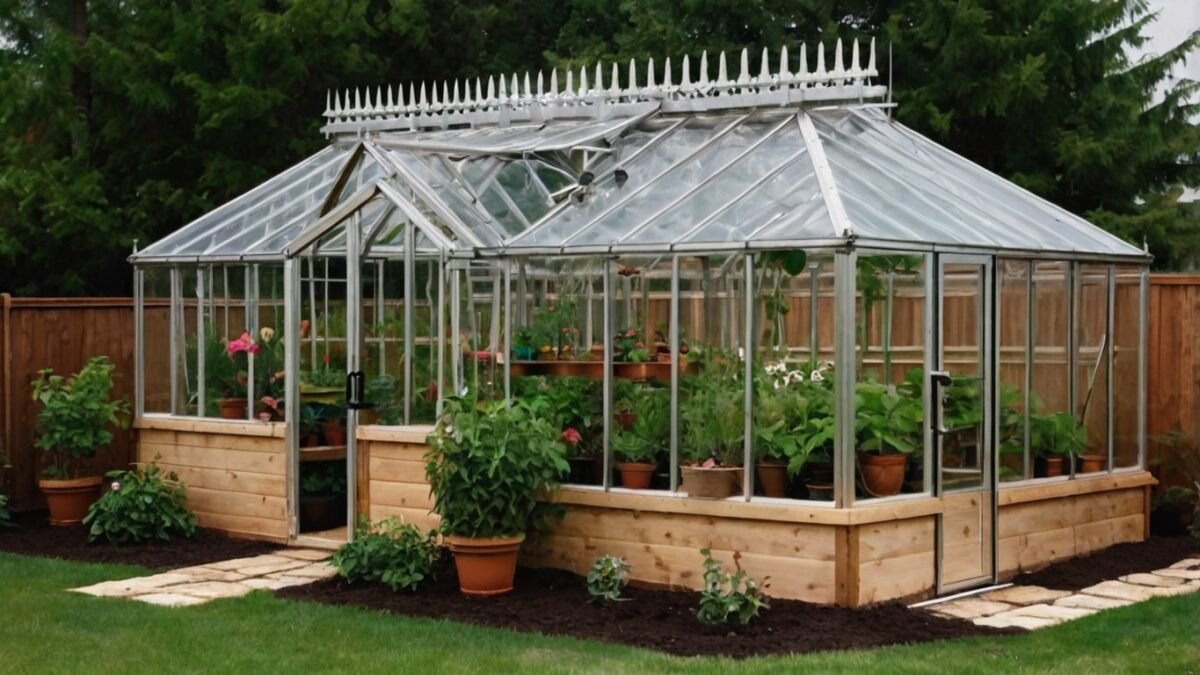
August 14, 2024DIY Greenhouse: Want to grow your garden all year? A DIY greenhouse could be perfect for you. By building your own backyard greenhouse, you can enjoy fresh veggies and lovely flowers anytime. This guide will help you from planning to finishing your greenhouse.
Whether you dream of a small cold frame or a big greenhouse, making one is a fun project. You’ll discover how to pick the best materials, find the ideal spot, and assemble it all. With some hard work and the right knowledge, you’ll have a special place for your plants in no time.
Key Takeaways
- DIY greenhouses extend your growing season
- Plan your greenhouse size based on available space and needs
- Choose materials suited to your climate and budget
- Proper site selection is crucial for greenhouse success
- Ventilation and climate control are essential for plant health
- A well-built greenhouse can provide years of gardening enjoyment
Introduction to DIY Greenhouses
DIY greenhouses let garden lovers enjoy gardening all year. They protect your plants from bad weather and pests. You can pick a greenhouse that suits your space and needs.
Greenhouses have many benefits. They keep your plants safe from extreme weather and bugs. This means you can grow tropical plants even in cold places.
- Extended growing seasons
- Protection from harsh weather
- Pest control
- Cultivation of exotic plants
There are many types of greenhouses. You can choose from cold-frame, attached, or standalone greenhouses. Each type has its own benefits, fitting different gardens and spaces.
| Greenhouse Type | Description | Best For |
|---|---|---|
| Cold-frame | Small, low-profile structure | Seed starting, small spaces |
| Attached | Connected to existing building | Space-saving, easy access |
| Standalone | Independent structure | Large-scale gardening |
Building your own greenhouse can save money. While pros charge about $11,000, doing it yourself costs around $5,000. This makes gardening all year round more affordable for home gardeners.
Planning Your Greenhouse Project
Starting your greenhouse project needs careful planning. Let’s look at the key things you should think about for your greenhouse plans.
Determining Your Greenhouse Needs
Think about what you want to grow and how much space you’ll need. Are you planning to grow vegetables all year or just extend your growing season? Your goals will help decide your greenhouse size and design.
Choosing the Right Size and Style
Choosing the right size for your greenhouse is key to success. An 8 by 6 feet greenhouse is a popular choice, but your needs might be different. Think about these things when picking your greenhouse size:
- Available space in your yard
- Types of plants you want to grow
- Number of plants you plan to cultivate
- Your budget constraints
Budgeting for Your Greenhouse
Creating a budget for your greenhouse doesn’t mean you have to cut corners. Here’s a list of costs to consider:
| Item | Estimated Cost Range |
|---|---|
| Frame materials | $200 – $1000 |
| Covering materials | $100 – $500 |
| Foundation | $50 – $300 |
| Ventilation system | $50 – $200 |
| Tools and equipment | $100 – $300 |
Don’t forget to include costs for any permits you need. With careful planning and smart choices, you can make a greenhouse that works well and fits your budget.
Selecting the Perfect Location
Finding the right spot for your greenhouse is key to gardening success. A well-chosen location can greatly improve plant growth and productivity.
When choosing a spot, focus on sun exposure. Go for a south or southeast-facing area to get lots of sunlight, especially in winter. This ensures your plants get enough light all day.
Drainage is also crucial. Pick a spot with good drainage to avoid water buildup around your greenhouse. You can enhance drainage by adding gravel or raising the foundation a bit.
- Check for nearby trees or buildings that might cast shadows
- Ensure easy access to water and electricity
- Consider soil quality and potential for future expansion
Choosing the right spot for your greenhouse means creating a perfect environment for your plants. Take your time to check out different areas in your yard before deciding.
“The right location can turn your greenhouse from good to great, giving your plants the best chance to flourish.”
A well-thought-out greenhouse location is the base for successful gardening all year. With careful planning, you’re on your way to a thriving green space.
Choosing Your Greenhouse Materials
Choosing the right materials for your DIY greenhouse is key. Your choices affect how long it lasts, its cost, and how well it works. Let’s look at the best options for frames and coverings.
Frame Options
The frame is the core of your greenhouse. Here are some top picks:
- Wood: Gives a classic look but needs protection against rot
- PVC: It’s budget-friendly but not as strong
- Aluminum: Light and resistant to rust
- Steel: Strong but more expensive
Covering Materials
The covering of your greenhouse is key for letting in light and keeping warmth in. Here are some choices:
- Glass: Looks great but is fragile and costly
- Polycarbonate: Lasts long and keeps warmth well
- Plastic sheeting: Cheap but doesn’t last as long
Durability and Climate Factors
Think about your local weather when picking materials. In windy places, go for strong frames like steel. For snowy areas, pick coverings that can handle the snow. In sunny spots, choose materials that protect against UV rays.
“The right materials make all the difference in creating a long-lasting, efficient greenhouse.”
Make sure your frame and covering work well together. With the right materials, you’ll have a great place for your plants.
Preparing the Greenhouse Site
Getting your greenhouse site ready is key. First, level the ground where you’ll build. Remove rocks, roots, and debris that could get in the way. Add topsoil if needed to make it even.
Use a rake to make sure the area is smooth and flat. This helps avoid water pooling and makes building easier. In cold areas, put the foundation below the frost line to protect your greenhouse from ground shifts.
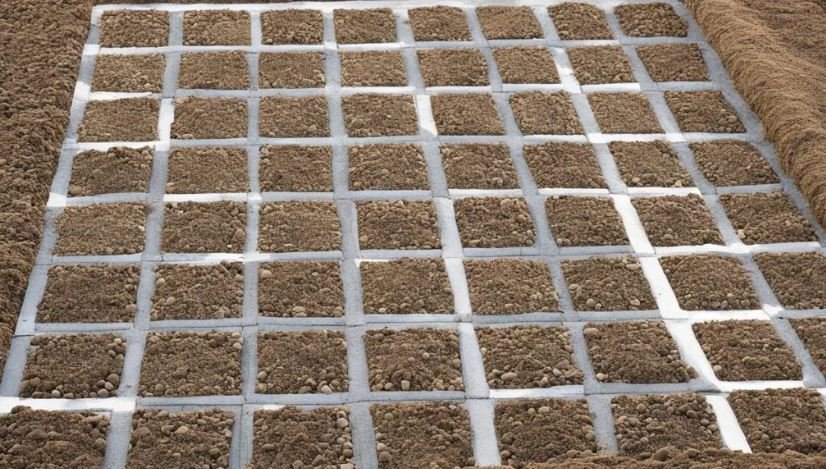
Then, deal with weeds. A weed barrier can stop unwanted plants from growing inside your greenhouse. You can choose from:
- Gravel: Great for drainage and weed control
- Landscape fabric: Long-lasting weed protection
- Bricks: Looks good and keeps weeds away
Pick what works best for you and your budget. Good site prep saves time and trouble during building and helps your greenhouse last longer.
| Site Preparation Step | Purpose | Tools Needed |
|---|---|---|
| Leveling ground | Ensure stability and proper drainage | Shovel, rake, level |
| Removing obstacles | Create a clear building area | Pickaxe, wheelbarrow |
| Adding topsoil | Achieve an even surface | Topsoil, rake |
| Installing weed barrier | Prevent weed growth | Chosen barrier material, utility knife |
Building the Foundation
A solid foundation is key for your greenhouse’s stability and long life. Let’s look at the main options and how to ensure good drainage for your project.
Foundation Options
You have three main choices for your greenhouse foundation:
- Concrete slab
- Wooden base
- Gravel
Each choice has its own advantages. A concrete slab is strong and keeps pests away. A wooden base is cheaper and simple to set up. Gravel is great for drainage and works well for temporary greenhouses.

Installation Tips
For concrete slabs or wooden bases, start by removing a few inches of soil. Make sure the ground is flat before you go further. If you pick a wooden base, use pressure-treated lumber to stop it from rotting.
| Foundation Type | Pros | Cons |
|---|---|---|
| Concrete Slab | Durable, pest-resistant | Expensive, permanent |
| Wooden Base | Affordable, easy to install | Requires maintenance |
| Gravel | Excellent drainage, flexible | Less stable, may shift |
Ensuring Proper Drainage
Good drainage is crucial for your greenhouse. Use a slope or a French drain to stop water from gathering. Make sure your foundation is a bit bigger than the greenhouse base for better stability and water runoff.
By choosing and preparing your greenhouse foundation well, you’ll make a strong place for your plants to grow.
DIY Greenhouse Construction Steps
Are you ready to start building your dream garden oasis? With the right frame construction and DIY greenhouse kits, you can do it yourself. Let’s go through the steps together.
First, look over your greenhouse plan or kit instructions. For custom builds, start with the frame. Make sure it’s square and even using a level. Then, build the wall frames on the ground.
After that, raise and secure them in place. Now, it’s time for the roof. Install rafters and ridge boards for stability. If you’re using recycled windows, arrange them first to ensure a perfect fit.
- Build the frame
- Construct and raise wall frames
- Install roof rafters and ridge boards
- Arrange and attach windows (if applicable)
- Add support beams and braces
Take your time with the greenhouse assembly. Rushing can lead to mistakes. If you’re using DIY kits, follow the manufacturer’s instructions for the best results.
“A well-built greenhouse is like a living room for your plants. Take care in its construction, and it will nurture your garden for years to come.”
With these steps, you’re on your way to a thriving space for your plants. Happy building!
Installing the Covering Material
Installing the covering on your greenhouse is a key part of your DIY project. It keeps your plants safe from bad weather and makes a great place for them to grow. We’ll look at how to put on different materials and important steps for weatherproofing.
Techniques for Different Materials
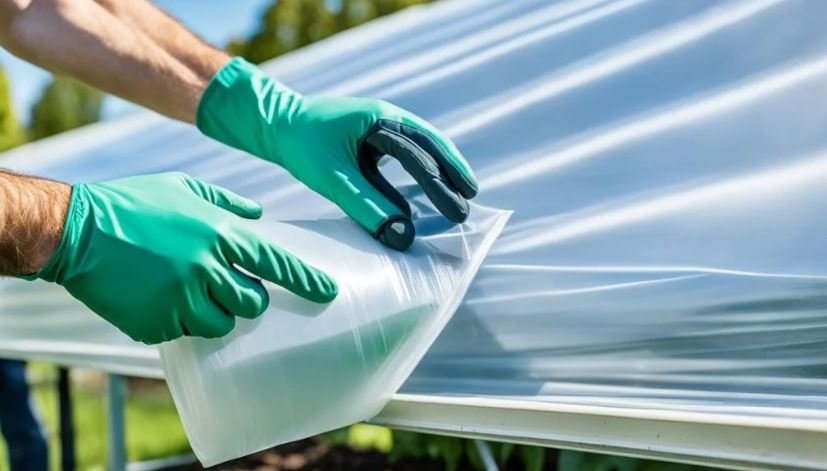
The way you install depends on the material you pick. Glass needs careful handling and safety gear. For plastic or polycarbonate, follow the maker’s instructions. Make sure each piece is securely attached to the frame, starting from the bottom.
| Material | Installation Technique | Tools Needed |
|---|---|---|
| Glass | Use glazing strips and sealant | Safety gloves, goggles, caulk gun |
| Polycarbonate | Snap into frame channels | Rubber mallet, utility knife |
| Plastic Sheeting | Stretch and secure with clips | Scissors, locking pliers |
Sealing and Weatherproofing
It’s crucial to weatherproof your greenhouse for it to last long and work well. Begin by sealing gaps between panels and the frame. Use sealants that stay flexible in different temperatures. Be sure to check corners and spots where water might collect.

To keep your greenhouse safe from the elements, add weatherstripping around doors and vents. This helps stop drafts and keeps the inside temperature steady. A greenhouse that’s well-sealed is essential for the best growing conditions for your plants.
Ventilation and Climate Control
Proper ventilation in your greenhouse is key for a healthy plant environment. It helps control temperature and humidity, stopping mold and mildew. Let’s look at some ways to manage your greenhouse climate.
Begin by adding roof vents and adjustable windows. These let hot air out and fresh air in, ensuring good airflow. For bigger greenhouses, fans can help move air around. A solar-powered attic fan is a great choice because it’s energy-efficient and won’t raise your electric bill.
Keeping the right temperature is vital for plants. In cold areas, you’ll need a heating system. Electric heaters are common, but oil-based heaters can save money in large spaces. An automated, temperature-controlled ventilation system can help keep temperatures steady.
Managing humidity is also crucial for your greenhouse. Too much moisture can cause fungal diseases in plants. Use a hygrometer to check moisture levels and adjust as needed. Dehumidifiers or more ventilation can help keep humidity at a good level.
- Install roof vents and adjustable windows
- Add fans for improved air circulation
- Use a heating system in cold climates
- Monitor and control humidity levels
- Consider automated climate control systems
By managing ventilation, temperature, and humidity, you’ll create the perfect environment for your plants. Remember, every greenhouse is different. You might need to adjust your methods based on your specific needs and local climate.
Adding Interior Features and Storage
After building your greenhouse, it’s time to make it useful. A well-organized space helps you grow plants better. Let’s look at some important elements to add inside your greenhouse.
Shelving and Benches
Greenhouse shelving is key for using your space well. Put up strong shelves on the walls for pots and trays. Near the center, add workbenches for potting and plant care. These areas give you lots of room to work and keep your plants.
Organizing Tools and Supplies
Stay organized with smart storage solutions in your greenhouse. Hang tools on the walls. Use plastic bins for soil, fertilizers, and other supplies. A small potting station with storage keeps everything you need close.
Plan for the future too. You might need grow lights or a cozy chair later. With these basics, your greenhouse will be perfect for a thriving garden all year.
FAQ
What are the benefits of building a DIY greenhouse?
DIY greenhouses let you grow plants all year round. They protect your plants from bad weather. You can even grow tropical plants inside. They also work as storage for your garden.
How much does it typically cost to build a DIY greenhouse?
Building a DIY greenhouse costs about ,000 on average. This is less than a professional one, which costs around ,000. The price depends on the size, materials, and features you pick.
What should I consider when planning my greenhouse project?
Think about what you want to grow, the space you have, and your budget. Decide on the size and style of your greenhouse. Don’t forget to plan for materials, tools, and any permits you might need.
How do I choose the right location for my greenhouse?
Pick a spot with good drainage and lots of sunlight. Aim for south or southeast facing. Make sure it’s not too shady and close to electricity and water.
What are some common frame and covering material options?
You can use aluminum, PVC pipes, wood, or galvanized steel for the frame. For the cover, choose from clear plastic sheeting, hard double-walled plastics, fiberglass, or glass. Think about how long it will last, the weather, and your budget.
How do I prepare the greenhouse site?
First, level the ground and clear it of any obstacles. Add more topsoil if needed and rake it smooth. Use a weed barrier like gravel, landscape fabric, or bricks. In cold areas, put the foundation below the frost line.
What are the foundation options for a DIY greenhouse?
You can go with a concrete slab, wooden base, or gravel foundation. Make sure it drains well to avoid water buildup. Pick the right foundation based on your climate.
How do I ensure proper ventilation and climate control?
Put in roof vents, fans, and adjustable windows for air flow. Think about automated systems or solar-powered fans. Use a heater for cold places and keep an eye on humidity levels.
What interior features should I include in my greenhouse?
Add shelving, benches, and tables for more growing space and work areas. Use hooks and racks for tools and supplies. Consider a potting station, raised beds, and plan for future changes.

